
Introduction
Ibizz - Responsive Wordpress theme is a powerful, professional, clean and stylish business theme which will showcase you app, services, portfolio or products in style. This Elegant Themes design gives you maximum flexibility and simplicity iBizz also includes beautiful blog, portfolio design and many custom post and page types. It is a great theme for those of sophisticated taste.
The detailed documentation also comes with screenshots and step-by-step instructions so you can get your site set up and running quickly and customized to your exact style. Ibizz is powered by the Redux Framework, allowing you to easily customize your site without any advanced programming skills required.
1. Features
 100% responsive
Supports most of Wordpress version from 3.9 to the latest
Integrate bootstrap 2 customizer
Supports Left-To-Right
RTL support
6 style color presets and custom style
Supportes Mega Menu and Moo Menu
Drag and drop 11 widgets to desired positions
Plugin JV Custom Post manages post according to a single system with 6 styles; users can configure parameters and css for different styles.
Integrated Framework Redux, suitable for quick import/export option, custom easily
Google Fonts Google Analytics
CSS3 Powered
Typography
W3C XHTML 1.0 Transitional. W3C CSS 3 Valid.
100% Tableless design.
Slideshow, image show, image gallery are developed unitedly with system integrated in JV Extensions.
Strongly supports short code, easy to use in anywhere such as mega menu, widget, page, page, post…
Supports all-in-one demo data installation package
Integrated contact-form plugin and WP Google Map Plugin
Download
To get privilege to download this theme, you need to sign up for a membership account.
Log into your account and go to IBizz download page. Select the theme and download.
You also may need to download WordPress at https://wordpress.org/download/ if you haven't installed WordPress CMS.
Wordpress Installation
This section for those who are new to WordPress and want to create entire new site. Before you want to install Ibizz theme, you need to have Wordpress CMS installed. After downloaded the latest Wordpress package take the followings steps to install:
Step 1: Extract the package:
Once you have downloaded Wordpress package, locate the package and extract it to a folder.
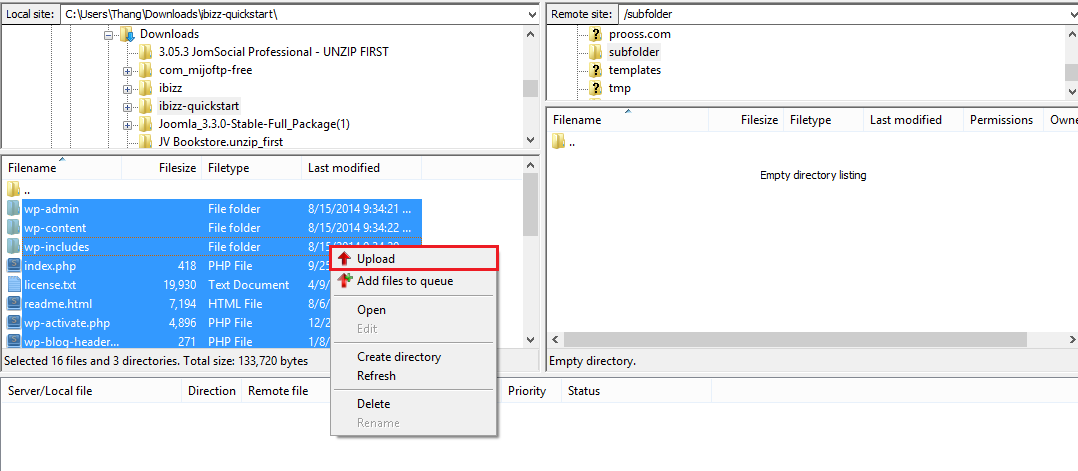
Step 2: Upload Files to you server
Next, you need to upload all files to your web server. The most popular and easiest way to upload files to server is via FTP using a software like Filezilla or cPanel >> File Manager >> Upload filesIf you want the installation to be accessible via your main domain (e.g www.yourdomain.com ) you need to upload extracted files to root directory. You can also make a subfolder ( root folder/subfolder ) to have the installation accessed via www.yourdomain.com/subfolder.
Step 3: Create Database
You will need to login cPanel to create a database user (username and password) will full permissions to access database and Database. Make sure you remember the database name, database username and password you've created, you will use those in installation process.
Step 4: Run Installation process
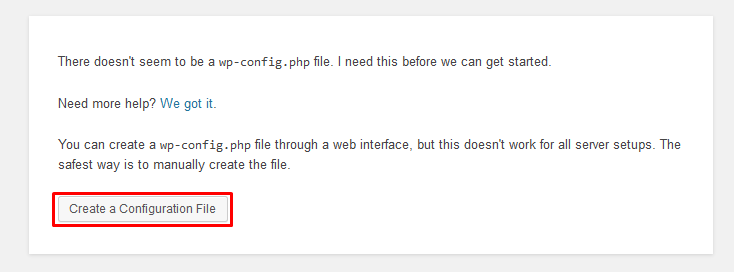
Now it's time to start installation process, if you have uploaded extracted files to root directory, you need to go to http://yourdomain.com on your browser. You will see to first screen asking you to create a Configuration file. Just click Create a Configuration File button to go ahead.
The next screen will show you 5 necessary items for installation process. Click Let's go to proceed.

Next screen

In the next screen, click "Run the Install"

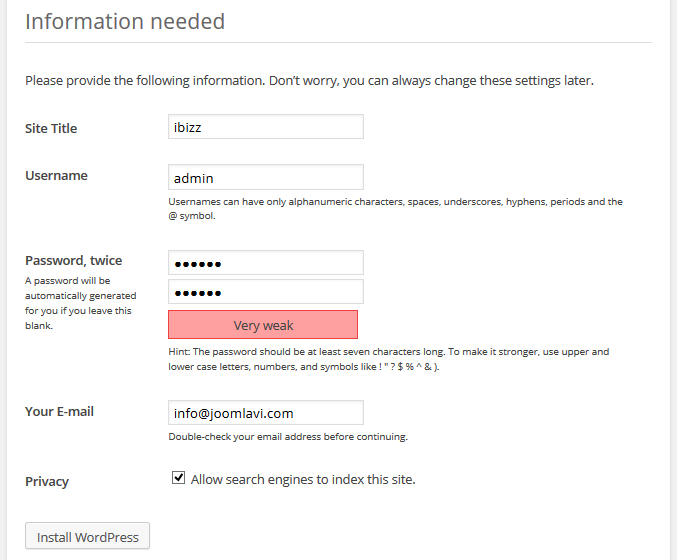
On the next screen you will have to enter the information about your administrator username, pass and the title of your new site. In addition, you can specify whether you'd want search engines to index your site or not. Once you fill in that information, press the Install WordPress button.
Congratulation! Wordpress is installed successfully. Click login button to access backend.
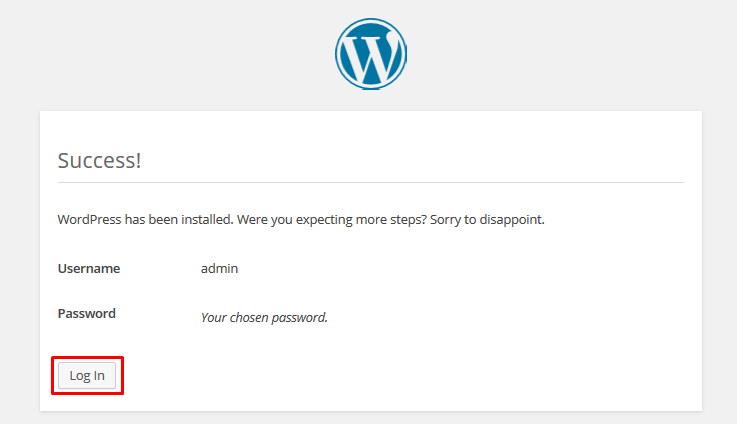
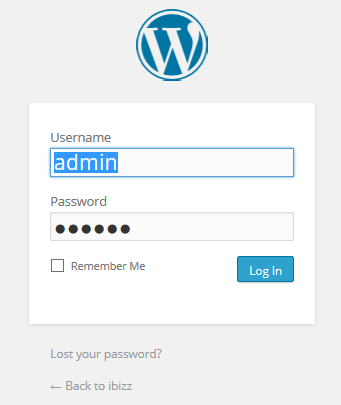
Enter username and password to access Wordpress administration area.
Install Ibizz theme on Worpdress
Once you had Ibizz theme zip file downloaded. Take the following steps to get Ibizz theme worked your site.
Step 1: Upload theme to Wordpress:
Extract Ibizz theme to a folder. Upload the folder to root-folder/wp-content/themes. You can upload via FTP, or this step can be done when you install Wordpress.
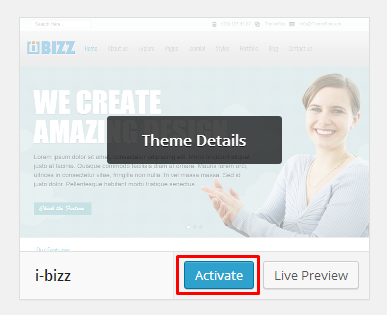
Step 2: Activate Ibizz theme:
Login to admin panel of you site, Go to Apperance >> Themes >>Find Ibizz theme and click Active
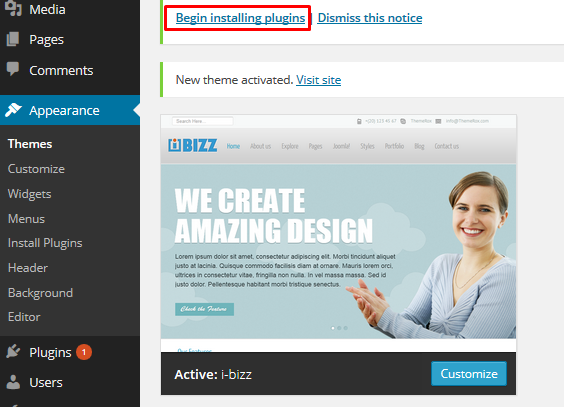
Step 3: Install Plugins
After activated the theme, you will be asked to install plugins. Click Begin installing plugins.
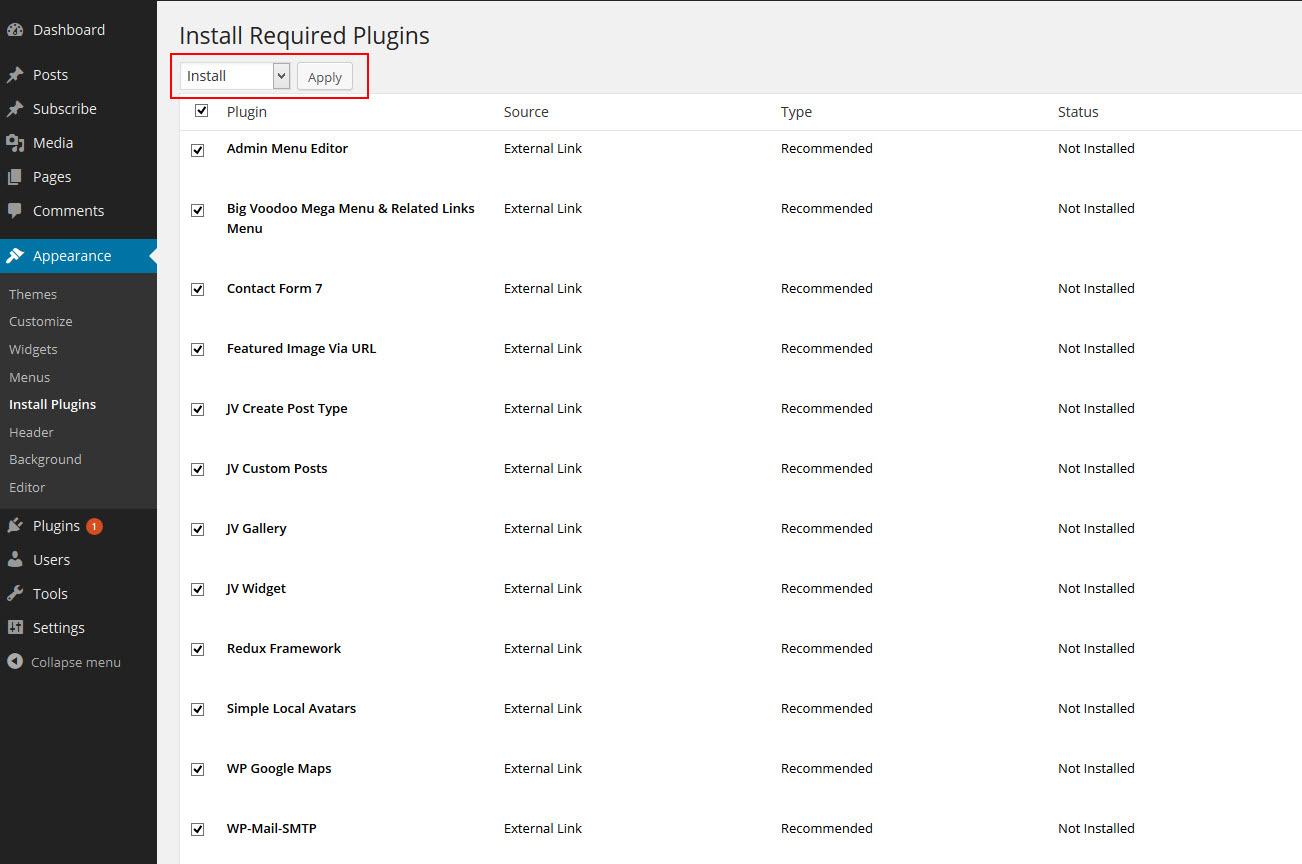
Then select all plugins, select install and click Apply
Step 4: Activate Plugins.
After successfully installed plugins, next you need to activate all install plugins.
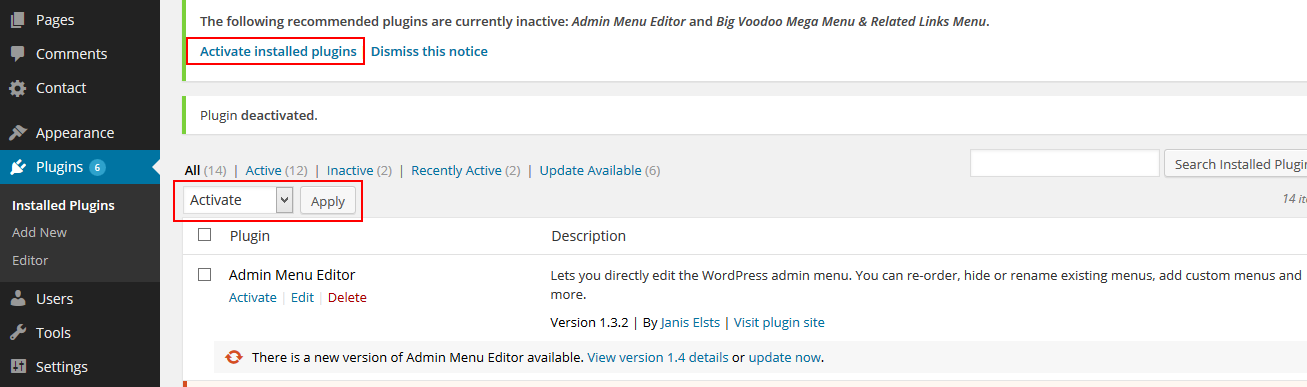
Click on Appearance again, you will be asked to activate installed plugin.
Click on "Activate installed plugins"
Select plugin, select activate, then click apply
Step 5: Install Sample Data
The last step you need to do is install Database. After activated plugin, go to Sample Options >> Install Database >> Click Install Dump Data as shown in the image below:
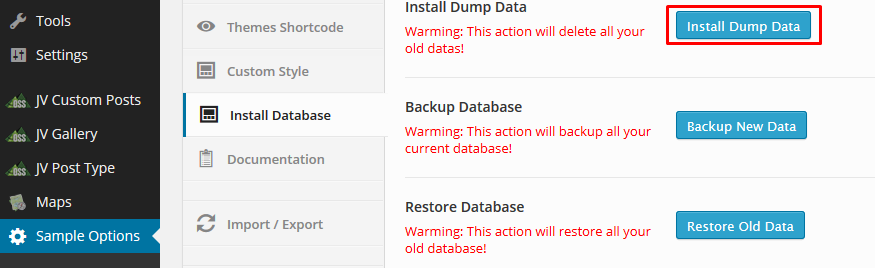
That's it! You have successfully cloned Ibizz demo
theme Appearance
After successful installation, next you you may need to do is edit theme appearance:
Navigate to Appearance >> Customize .You will see a list of sections available for customization:
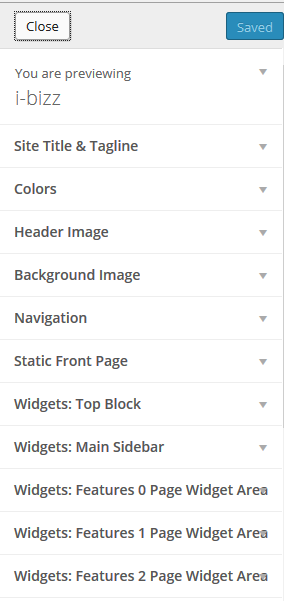
- Site Title & Tagline: Edit site title and tagline
- Color: Edit background color
- Navigation: Edit Image Header
- Navigation: Select Menu for Main menu
- Static Front page: Select page for Homepage- Widgets: Top Block: Edit top block
- Widgets: Main Slidebar: Edit main sidebar in blog menu
- Widgets: Feature 1 Page Widget Area: Edit shortcode
- Widgets: Feature 2 Page Widget Area: Edit shortcode
- Widgets: Feature 3 Page Widget Area: Edit shortcode
- Widgets: Feature 4 Page Widget Area: Edit shortcode
- Widgets: Feature 5 Page Widget Area: Edit shortcode
- Widgets: Feature 6 Page Widget Area: Edit shortcode
- Widgets: Bottom 1 Widget Area: Edit custom menus
- Widgets: Bottom 2 Widget Area: Edit social icons
- Widgets: Footer: Edit Footer
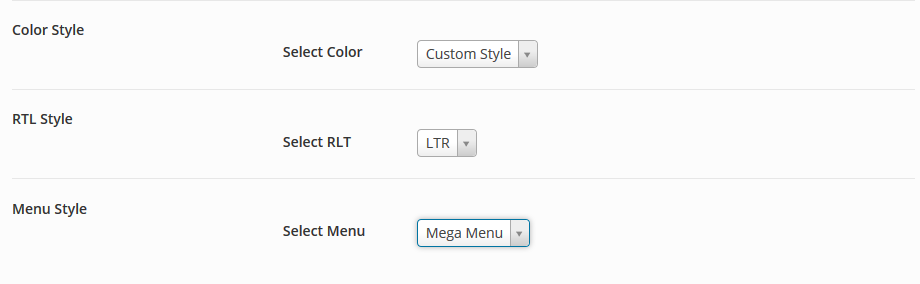
Home Settings
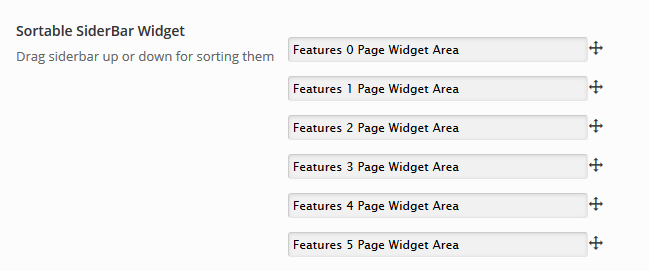
Navigate to Sample Options >> Home Settings
In this section, you can change:
- Drag and drop to change position of widget:
- Select color style for entire theme
- Switch between RTL and LTR mode
- Select menu type
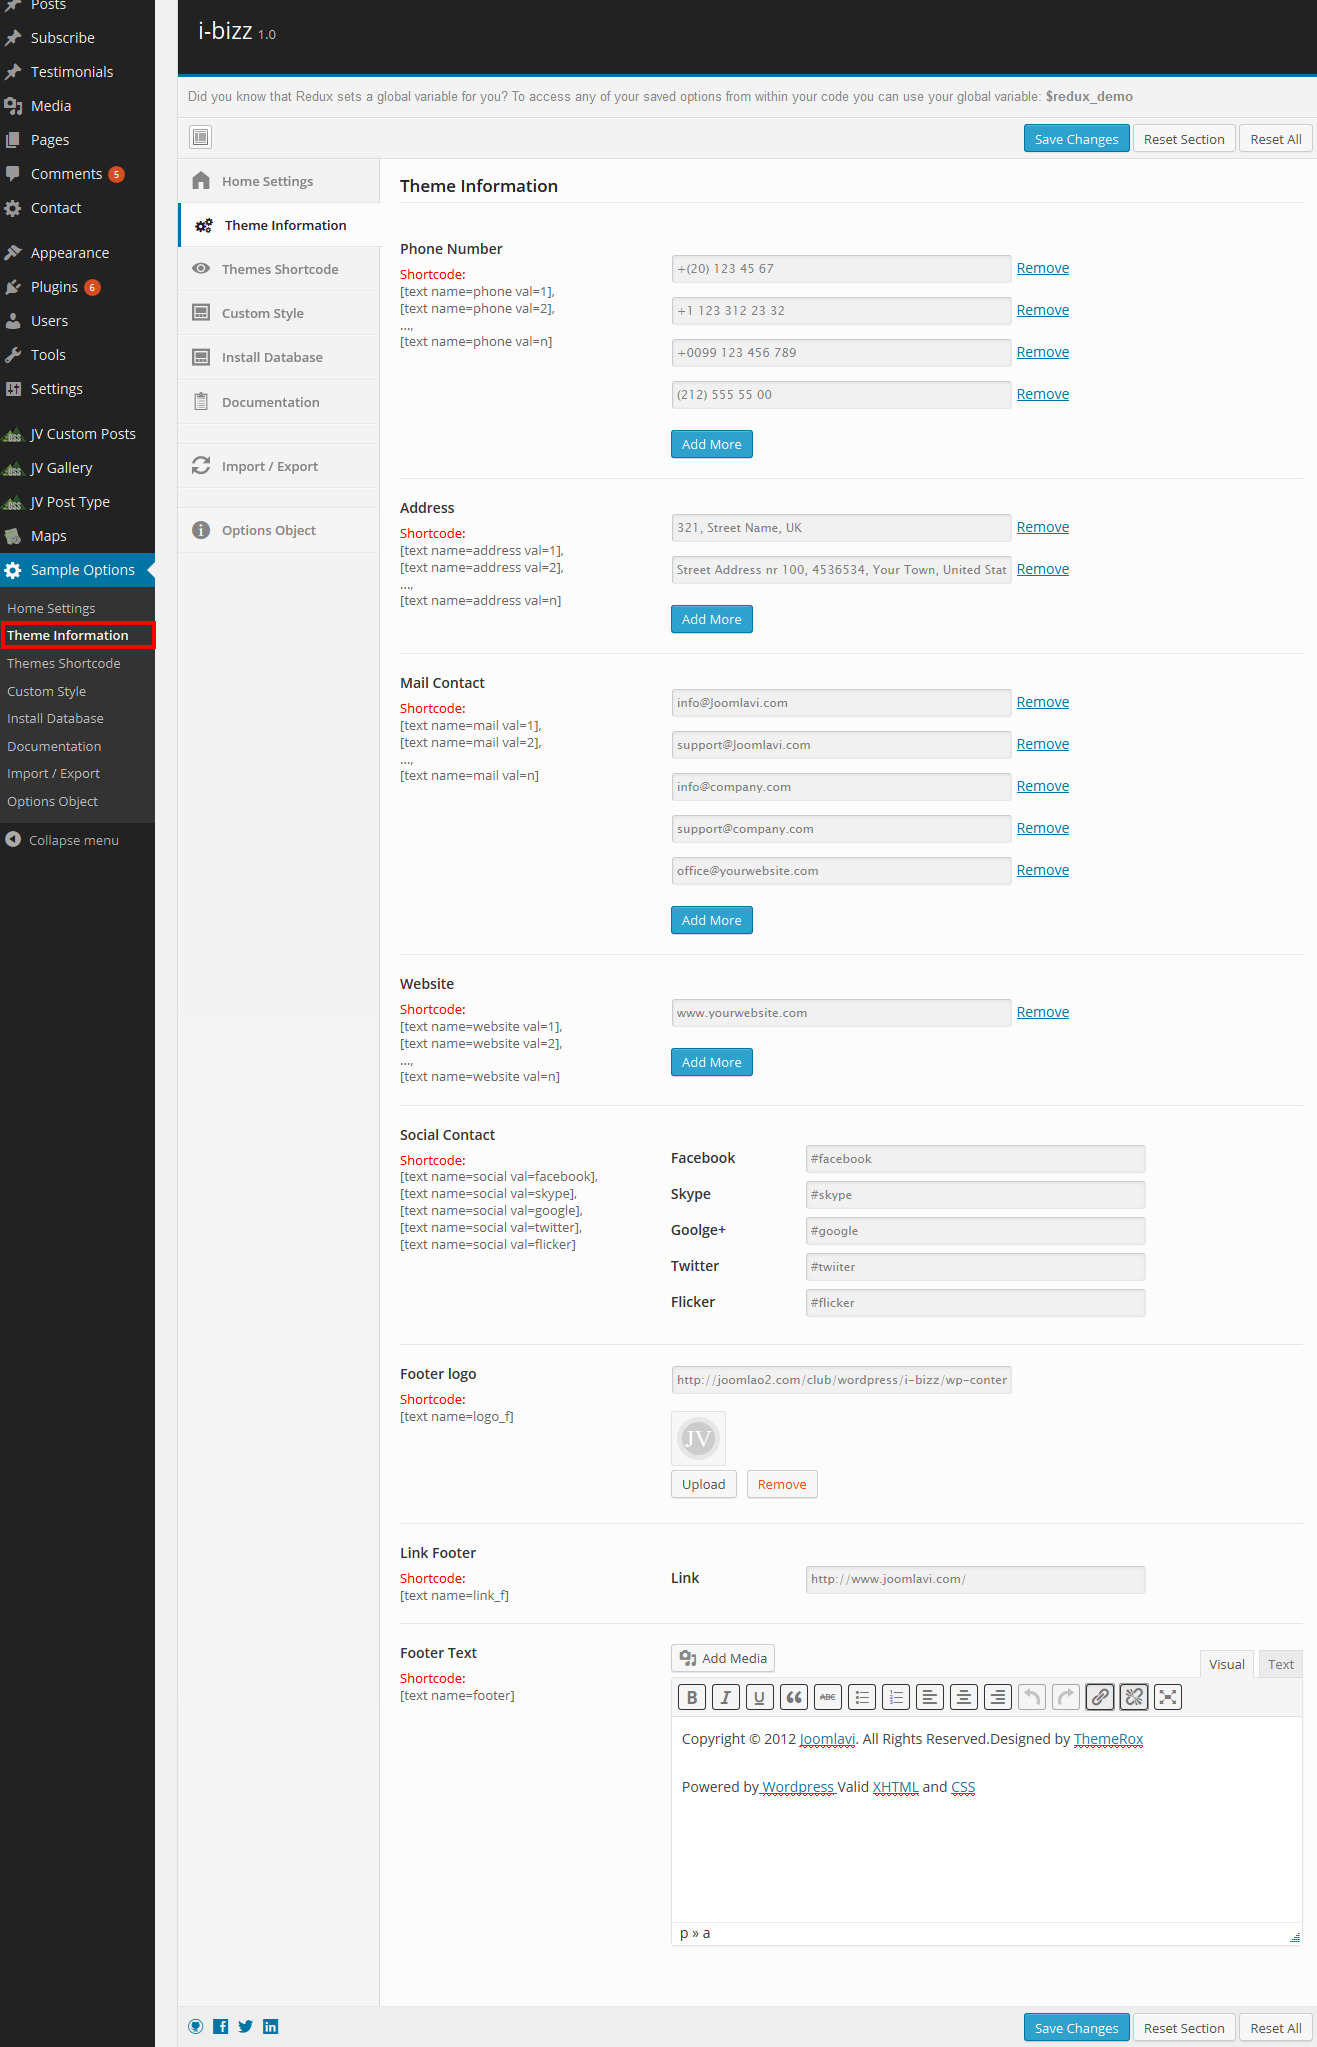
Theme information
This section contains information about email, phone... with correlative shortcodes
You can also edit footer text at the bottom of this page
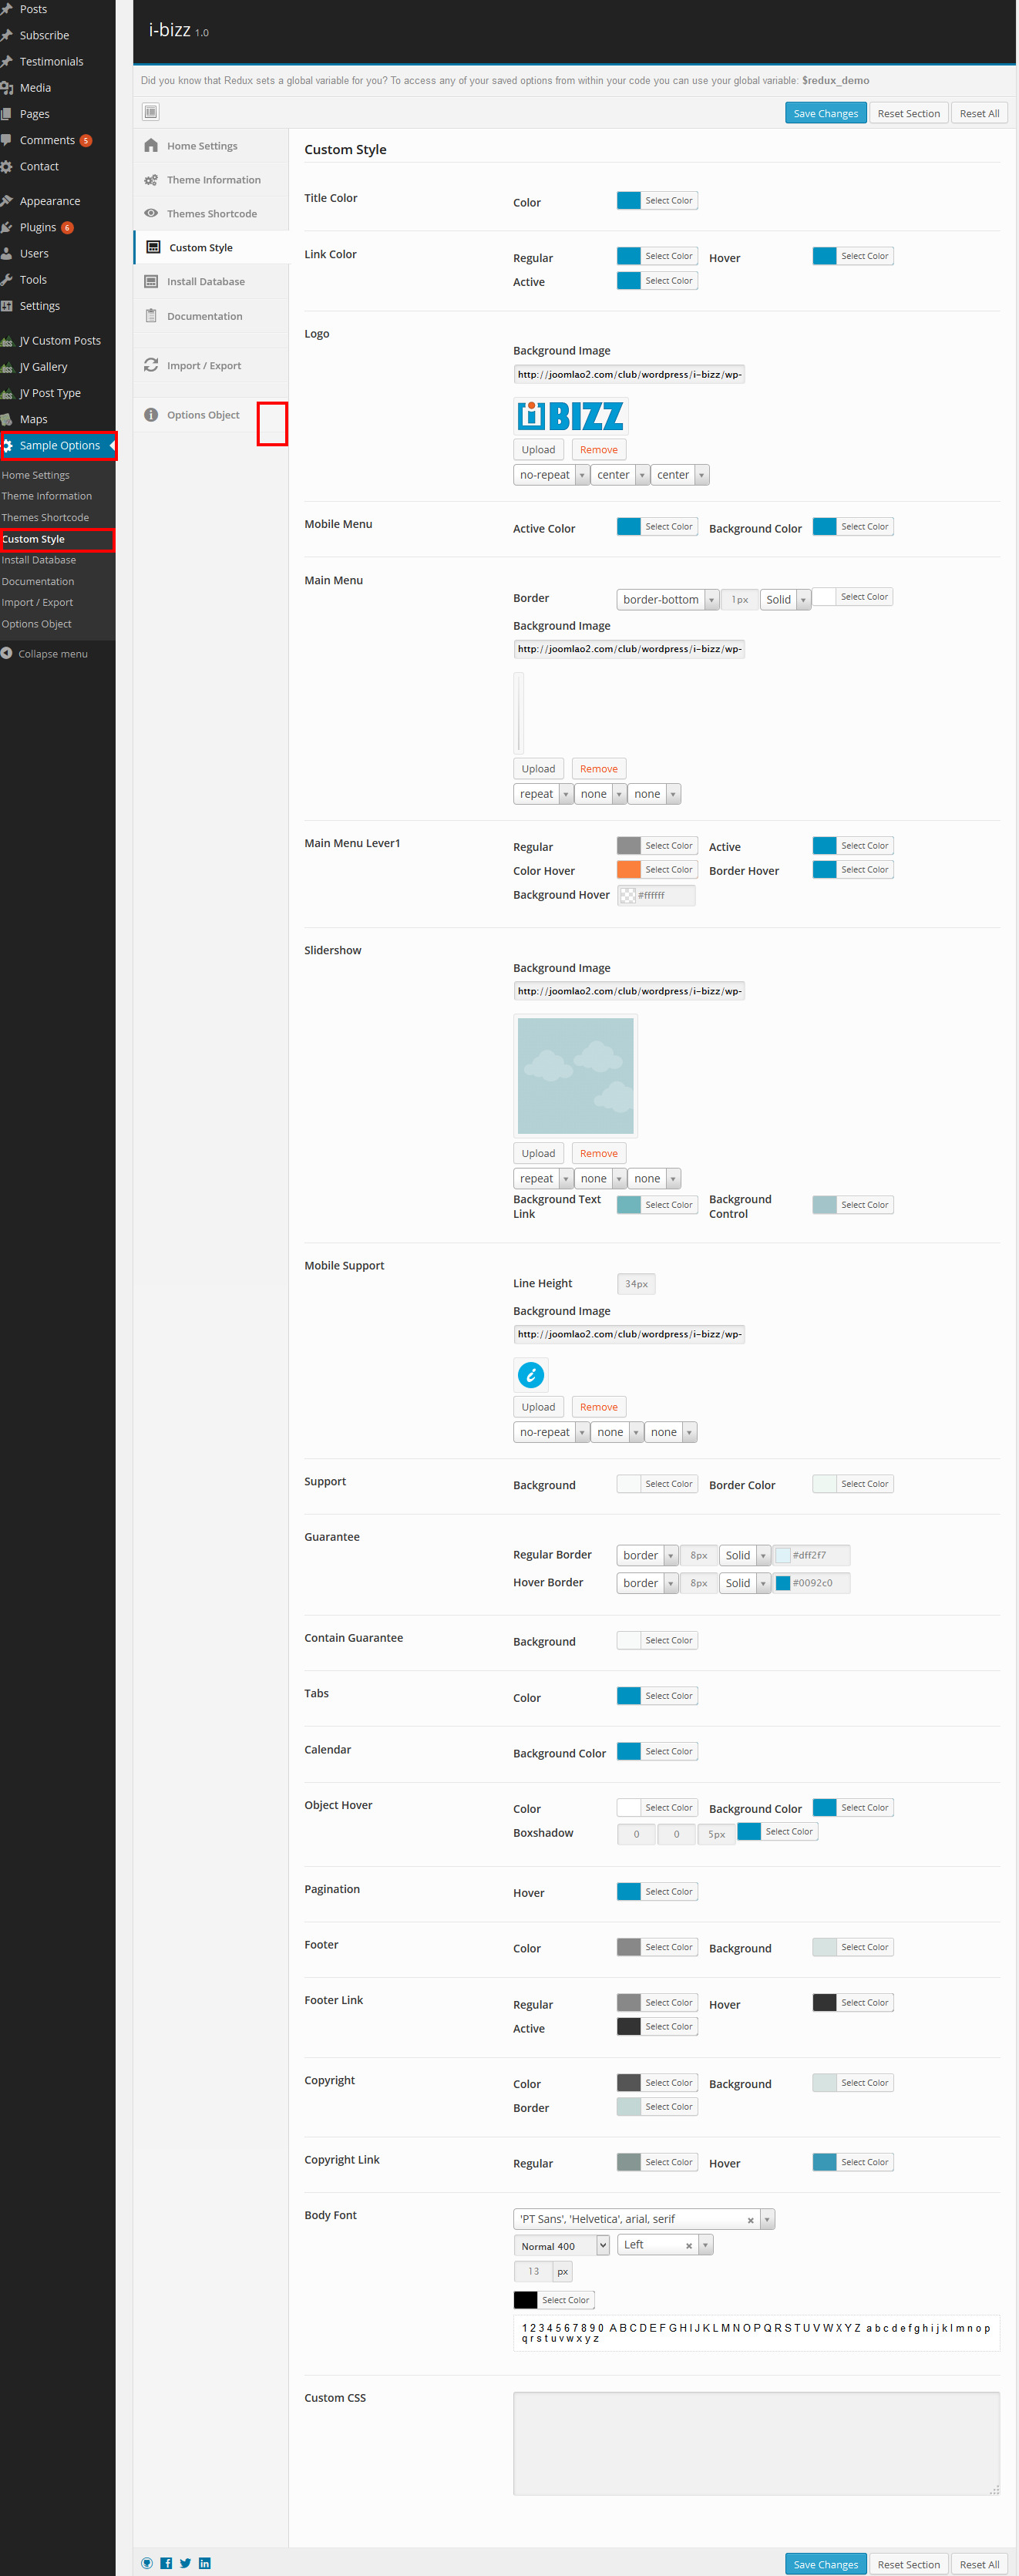
Custom style
In this section, you can edit entire style of the template including: color, background, border...
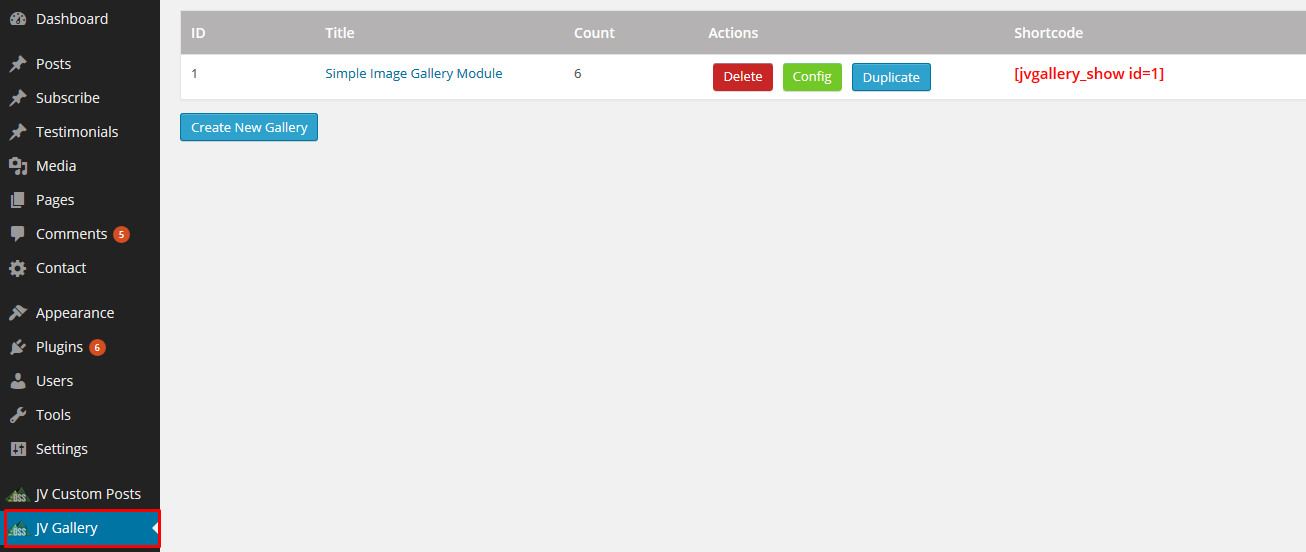
Gallery Widget
Go go JV Gallery, In this area you can
- See existing galleries with correlative shortcode.
- Create new gallery.
- Delete, config or duplicate existing gallery
Click create or config existing gallery will take to a place where you can:
- Add new image to gallery
- Delete existing images
- Add description for images.
custom Posts
This is import section that covers widgets of Ibizz, This section allows you to create widget that gets data from posts.

Navigate to JV Custom Posts, you will see existing widgets with correlative shorts codes. Click on each widget to config parameters.
The important thing in this section is the tab "Category Settings" this tab help you select category to get data from post. From the "Categories Settings" you can know which specific post or category does the widget get data from.